
We’ve all been there: you’re filling out an official application, and the upload form demands a headshot under 200 KB. You open your photo editor, drag the JPEG quality slider down from 90 to 80, and export.
214 KB. Still too big.
So you nudge it down to 70. Now it’s 140 KB, but your face looks like it was rendered in Minecraft. You try 75, get 203 KB, and throw your hands up in frustration.
Why is hitting an exact file size so maddening? Why can’t you just type “200 KB” into your image exporter and move on with your day?
The short answer: JPEG compression doesn’t work like a ZIP file. There is no direct “target file size” knob in standard encoders. Understanding why—and learning which levers to pull—is the key to getting under the limit without ruining your picture.
Why File Size Limits Are Everywhere (and Why Forms Don’t Help)
File size caps exist because web servers have to store and serve millions of images without running out of disk space or bandwidth.
- Email Providers: Gmail and Yahoo cap attachments at 25 MB, while Outlook caps at 20 MB. That sounds like plenty until you try sending four uncompressed photos from a modern smartphone (which run 5 to 12 MB each).
- Government & Visa Portals: Online passport systems are notoriously strict—demanding requirements like “600×600 pixels, under 240 KB.”
- Job Application Systems: Application tracking forms frequently reject resume headshots over 100 KB or 500 KB.
- Forums & Web Portals: Message boards and custom dashboards often limit avatars to a razor-thin 50 KB.
The problem isn’t the restriction itself; it’s that these forms tell you the maximum size without giving you a single clue on how to hit it.
The Quality Slider Trap
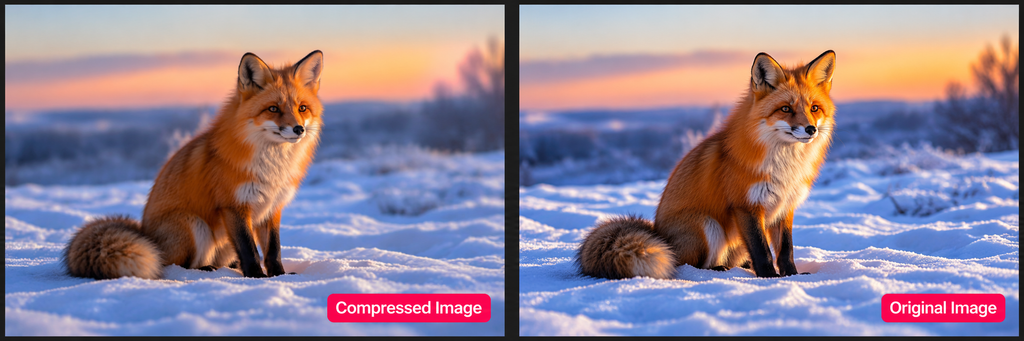
When you lower the “Quality” slider in Photoshop, Canva, or Preview, you aren’t adjusting file size directly. You’re adjusting a math formula that decides how aggressively to discard visual information.
Here’s why tweaking that slider manually feels so unpredictable: the relationship between quality percentage and file size is non-linear.
- Dropping quality from 95 to 90 might slash your file size by 30%.
- Dropping quality from 50 to 45 might only save you 5%.
The curve starts steep and flattens out dramatically. Tuning by slider position is like using a thermostat that barely changes the room temperature once you pass a certain point.
Why Two Photos at “80 Quality” Have Completely Different Sizes
If you take two photos at the same pixel resolution and save both at 80% JPEG quality, one might turn out to be 400 KB while the other explodes to 1.2 MB.
That’s not a glitch—it’s how JPEG works.
JPEG compresses images by identifying and removing high-frequency details—things like complex textures, sharp edges, and subtle color shifts.
- Detail-Dense Images: A photo of a forest canopy, a crowd at a market, or a patterned shirt has tons of complex visual information. JPEG can’t squeeze it down easily, so the resulting file stays large.
- Simple Images: A portrait against a flat studio backdrop or a clear sky contains broad, smooth areas. JPEG compresses these effortlessly, producing a much smaller file at the exact same quality setting.
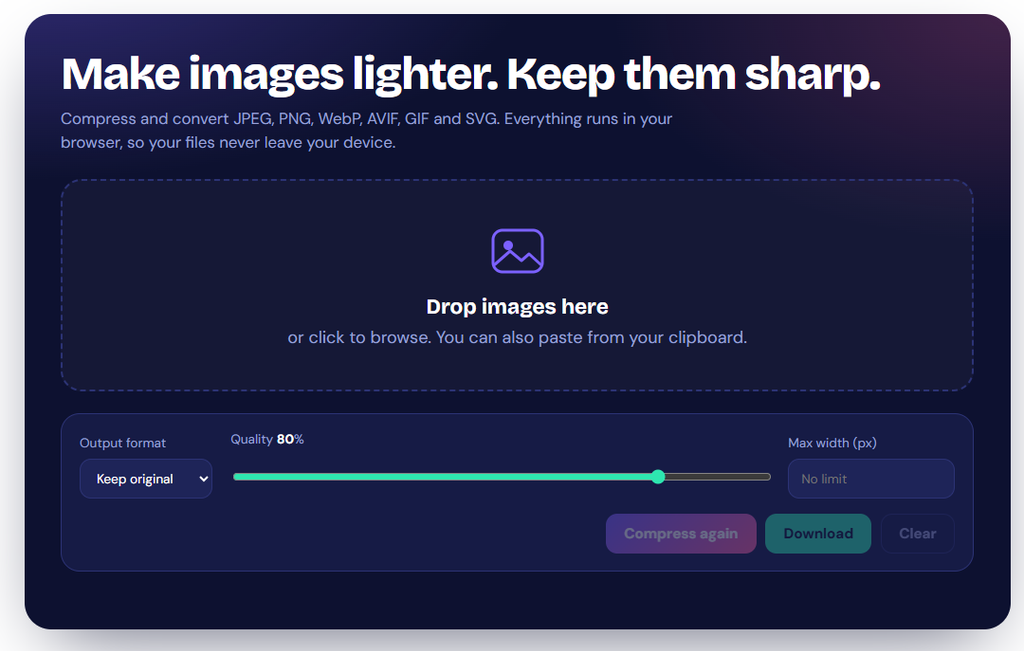
Bottom line: A quality setting of 75 doesn’t guarantee a 300 KB file. It guarantees a specific mathematical compression rate, and the final byte count depends entirely on what’s in the picture.
Resolution vs. Quality: Pull the Right Lever First
When people need to shrink an image, their instinct is to drop the quality setting first so the dimensions don’t change. This is usually a mistake.
If you have a 4000×3000 photo from your phone, it contains 12 million pixels. Squeezing 12 million pixels into a 200 KB box forces the encoder to butcher the quality.
Instead, shrink the dimensions first:
- Resize the Image: Scale the photo down to the display dimensions you actually need (for example, 600×600 for a passport or 800×800 for a profile picture). This removes millions of unnecessary pixels in one step.
- Adjust Quality Second: Once the pixel count is lower, you’ll only need a tiny dip in visual quality to hit your exact target.
💡 Golden Rule: Resize pixel dimensions first. Adjust compression quality second. Never the other way around.
How “Compress to Target Size” Tools Work
Since standard JPEG saving relies on trial and error, how do online target-compression tools land on an exact number so quickly?
Behind the scenes, they run an automated testing loop called a binary search:
- The tool tries a mid-range quality setting (e.g., 80).
- If the file is 220 KB (too big), it automatically tests 70.
- If 70 produces 180 KB (too small), it tests halfway in between (75).
- Within 4 or 5 split-second iterations, it finds the highest quality setting that stays under your limit.
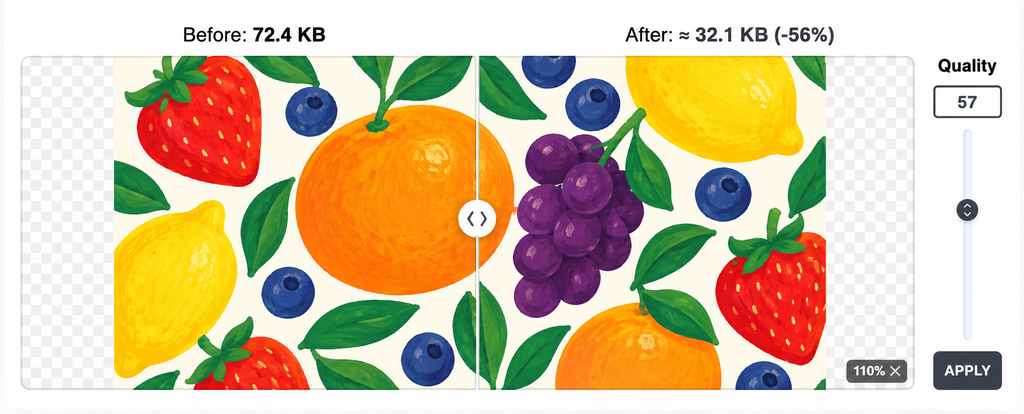
Because JPEG quality numbers use whole integers, you’ll almost always land slightly under your goal rather than dead on it. If quality 74 gives you 195 KB and quality 75 pushes you to 202 KB, the tool gives you the 195 KB file so your upload isn’t rejected.
Cheat Sheet: Quick Fixes for Common Upload Requirements
| Scenario | Target Limit | Recommended Strategy |
| Passport / Visa Portals | ~200 KB (Strict) | Crop & resize to 600×600 px first. Export at 80–85% quality. If capped at 50 KB, drop quality to 60–65%. |
| Job Portals (ATS) | ~500 KB – 1 MB | Resize to 800×800 px or 1000×1000 px. Save at 82% quality. |
| Email Attachments | ~25 MB Total | Resize images to 2000 px on the long edge at 80% quality (~300–500 KB per photo). |
| Forum Avatars | ~50 KB | Resize down to 150×150 px. At that size, standard JPEG quality easily stays under 50 KB. |
What to Do When the Math Is Physically Impossible
Every once in a while, you’ll run into a portal with broken requirements—like demanding a 1200×1200 px image under 20 KB in JPEG format.
That works out to roughly 0.01 bytes per pixel. To hit that target, the image would have to be compressed into an unreadable smear.
When you hit a mathematical brick wall:
- Switch Formats: Check if the system accepts WebP. WebP offers roughly 25–35% better compression than JPEG at the same visual quality.
- Slightly Reduce Dimensions: Drop the pixel size 10–15% below the recommendation if the portal doesn’t strictly validate dimension boundaries.
- Contact Support: Outdated government or university forms frequently have typos in their upload specs that haven’t been updated in a decade.
Leave a Reply